




Tested and inspected RO systems for pure water at a reduced price.
See offers
Complete protection with an RO system and a water softener.
Get 15% off
Combine reverse osmosis water and hydrogen-rich water.
Get 15% offFREE SHIPPING
On orders of €150 or more within mainland France
(home products only)
Ships within 24 hours
+33 3 66 88 17 85
Call us Monday to Friday,
9:30 am–5 pm (Paris time)!
Email: contact@josmose.fr

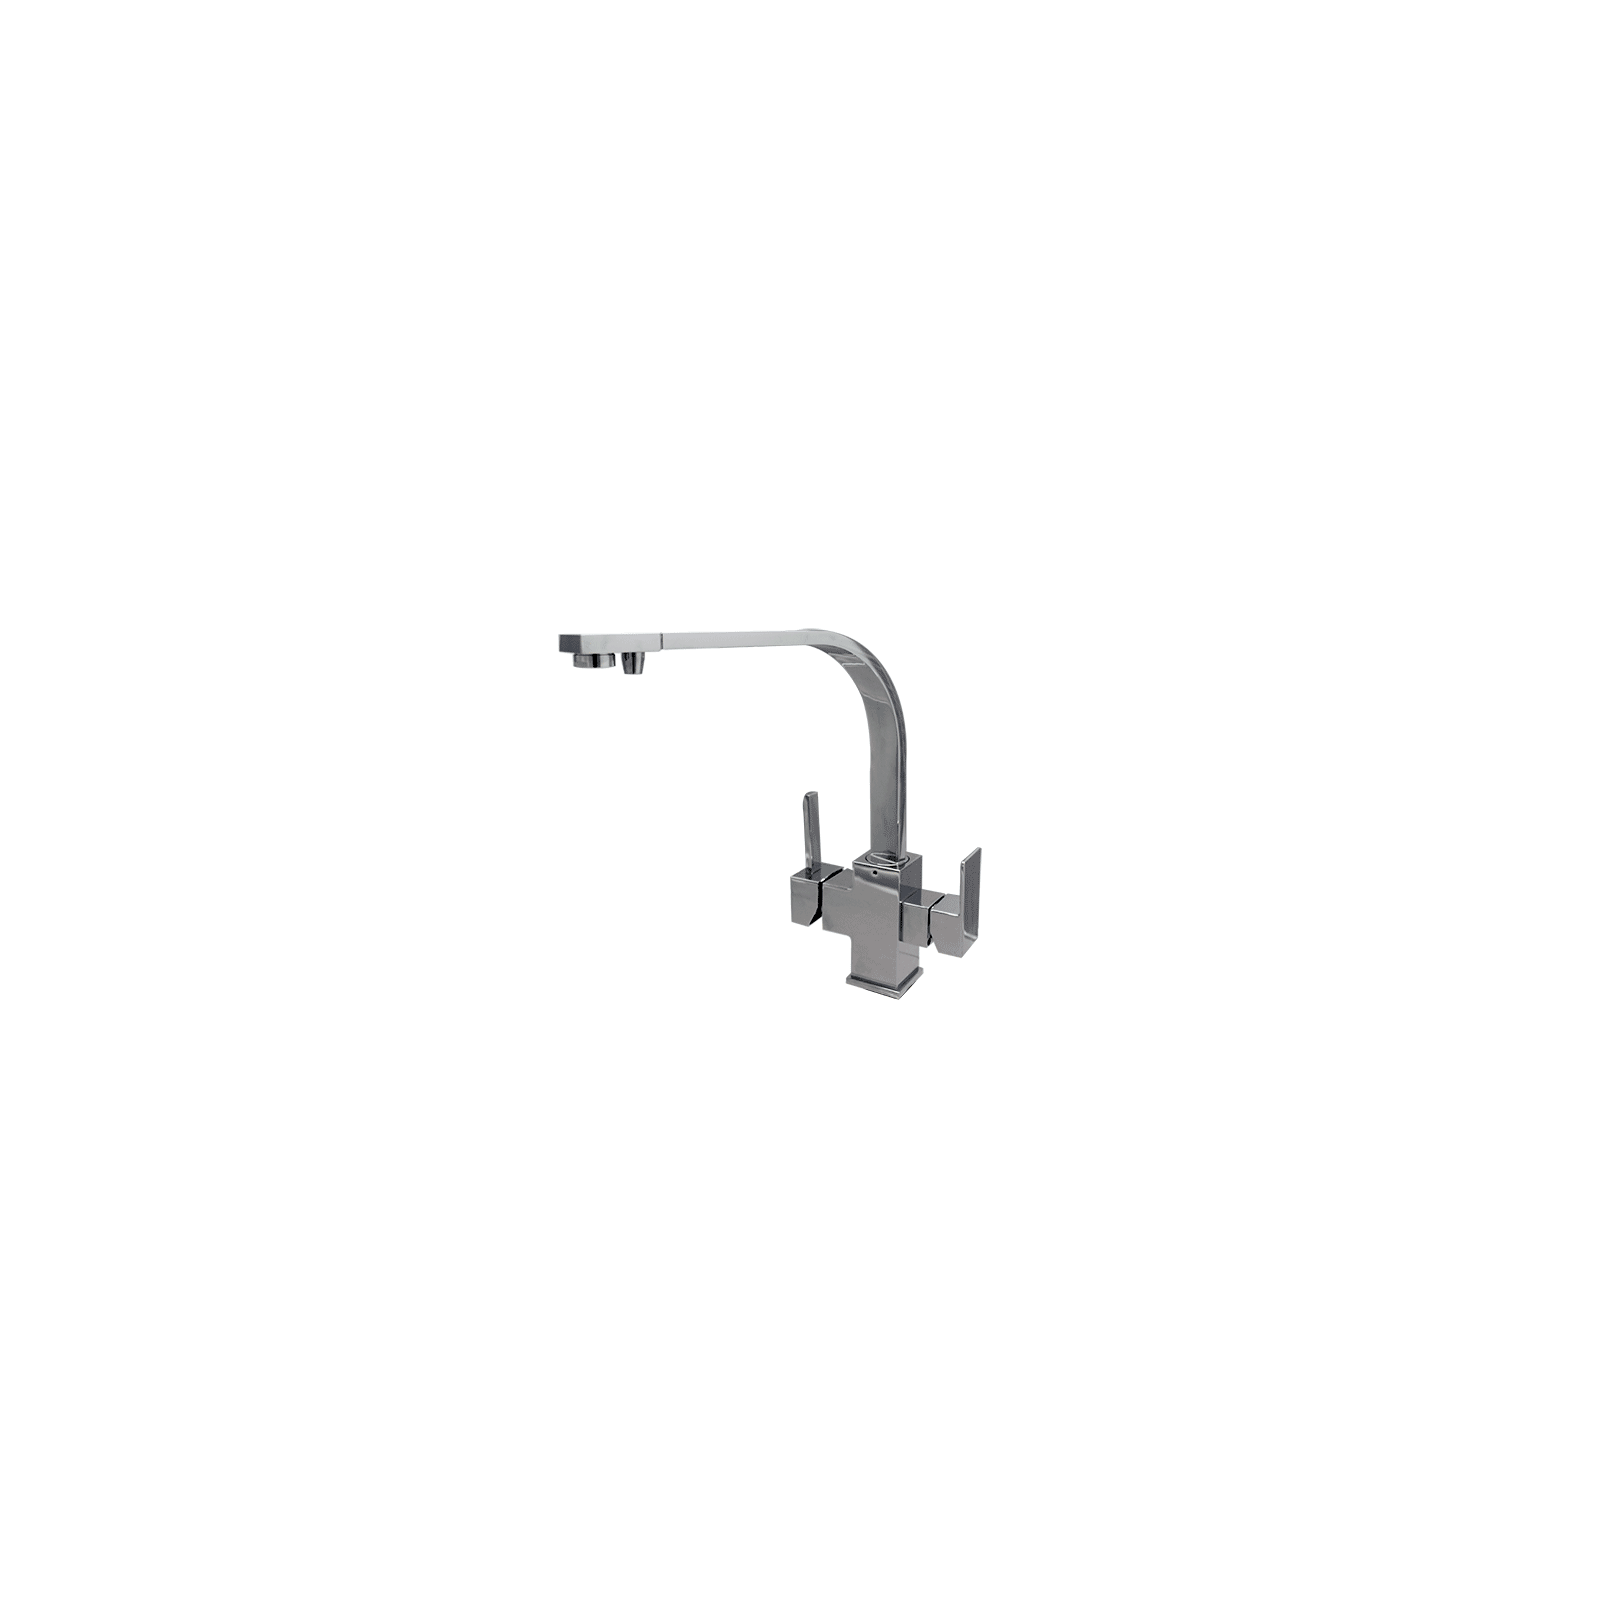
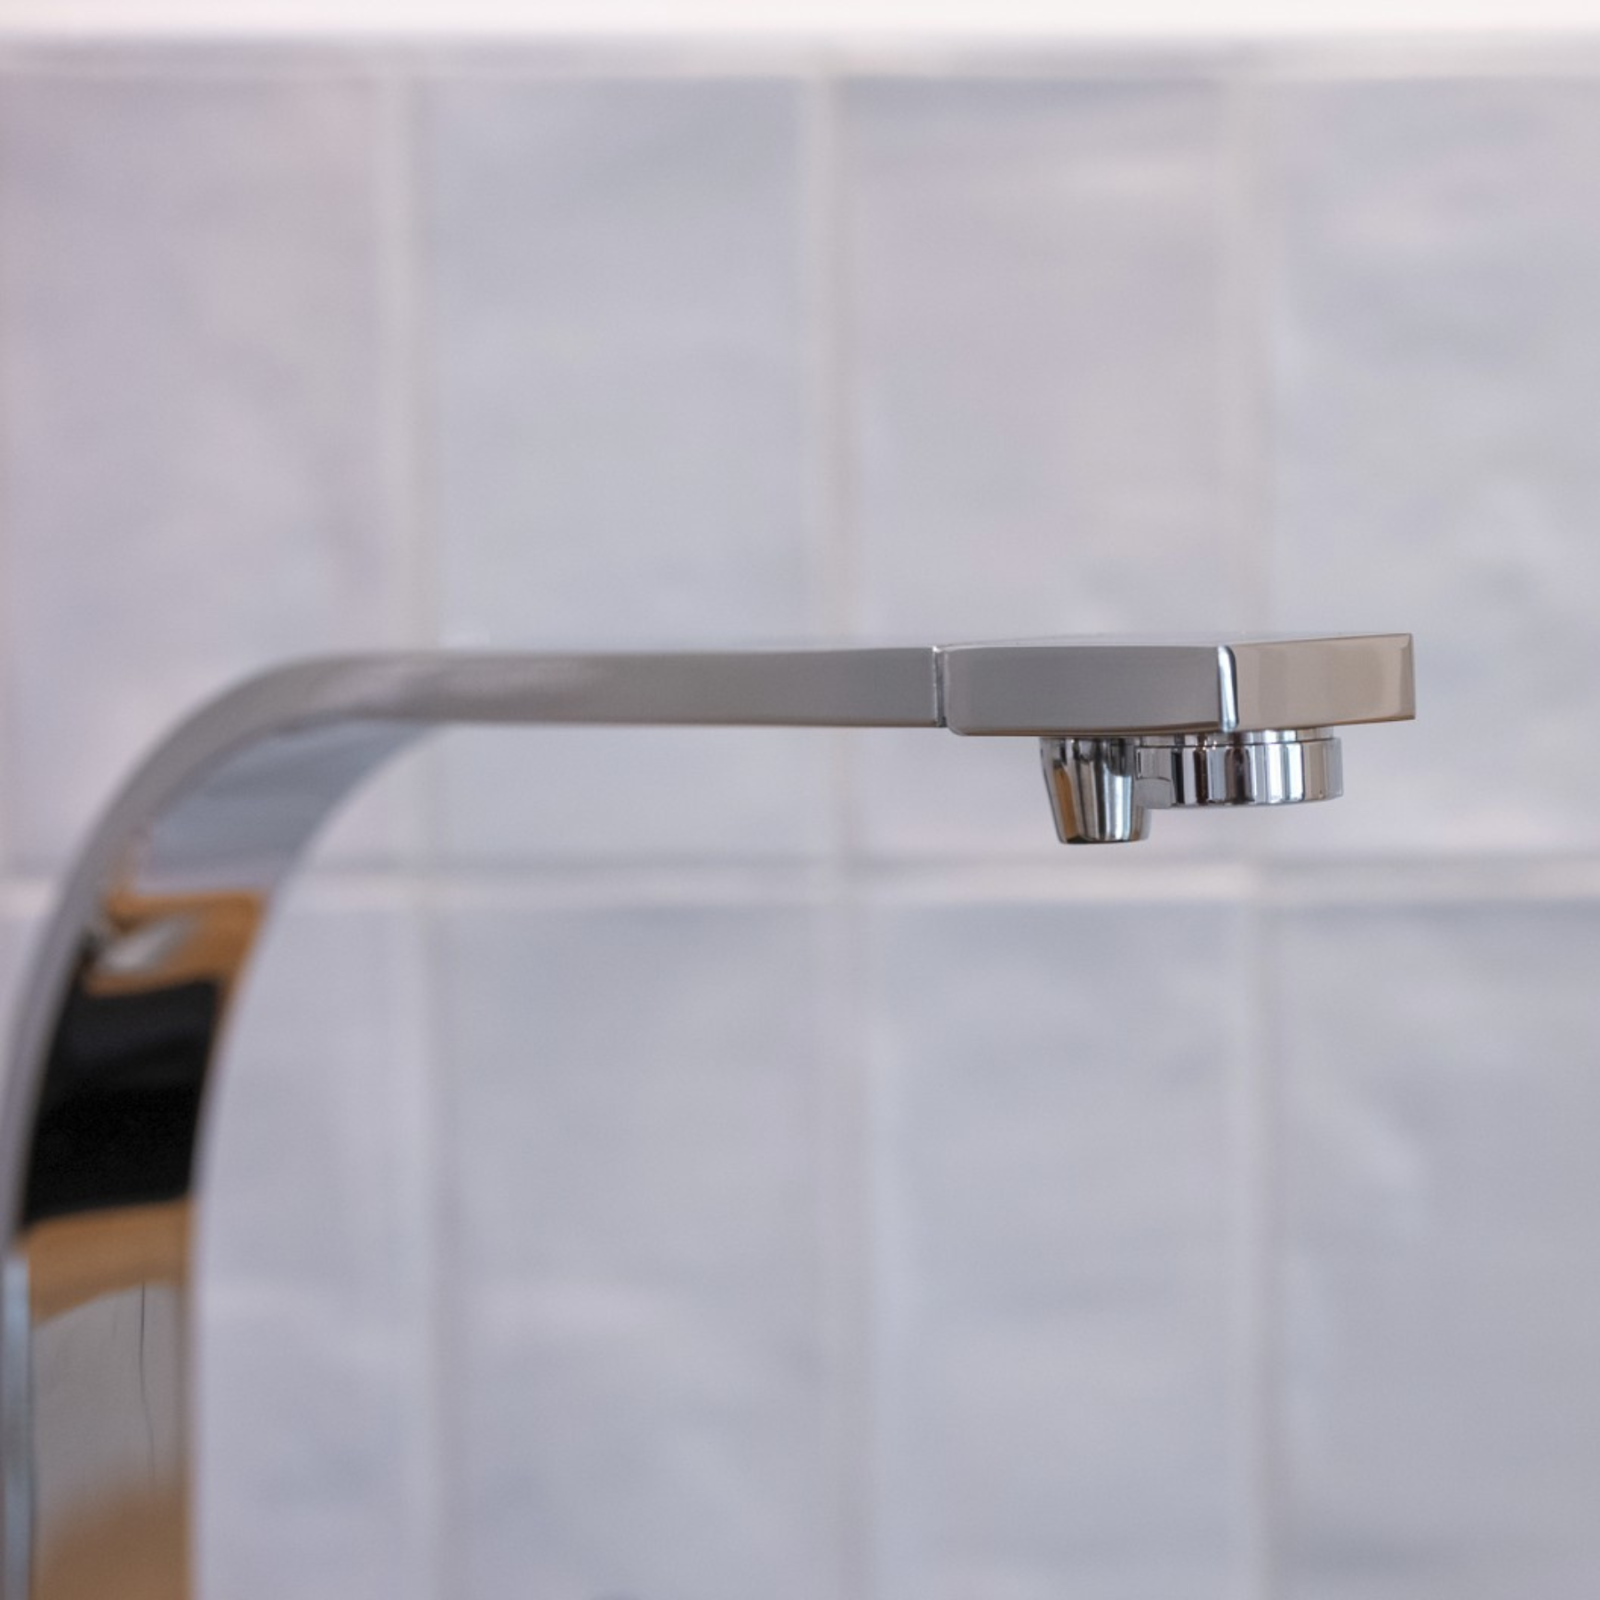
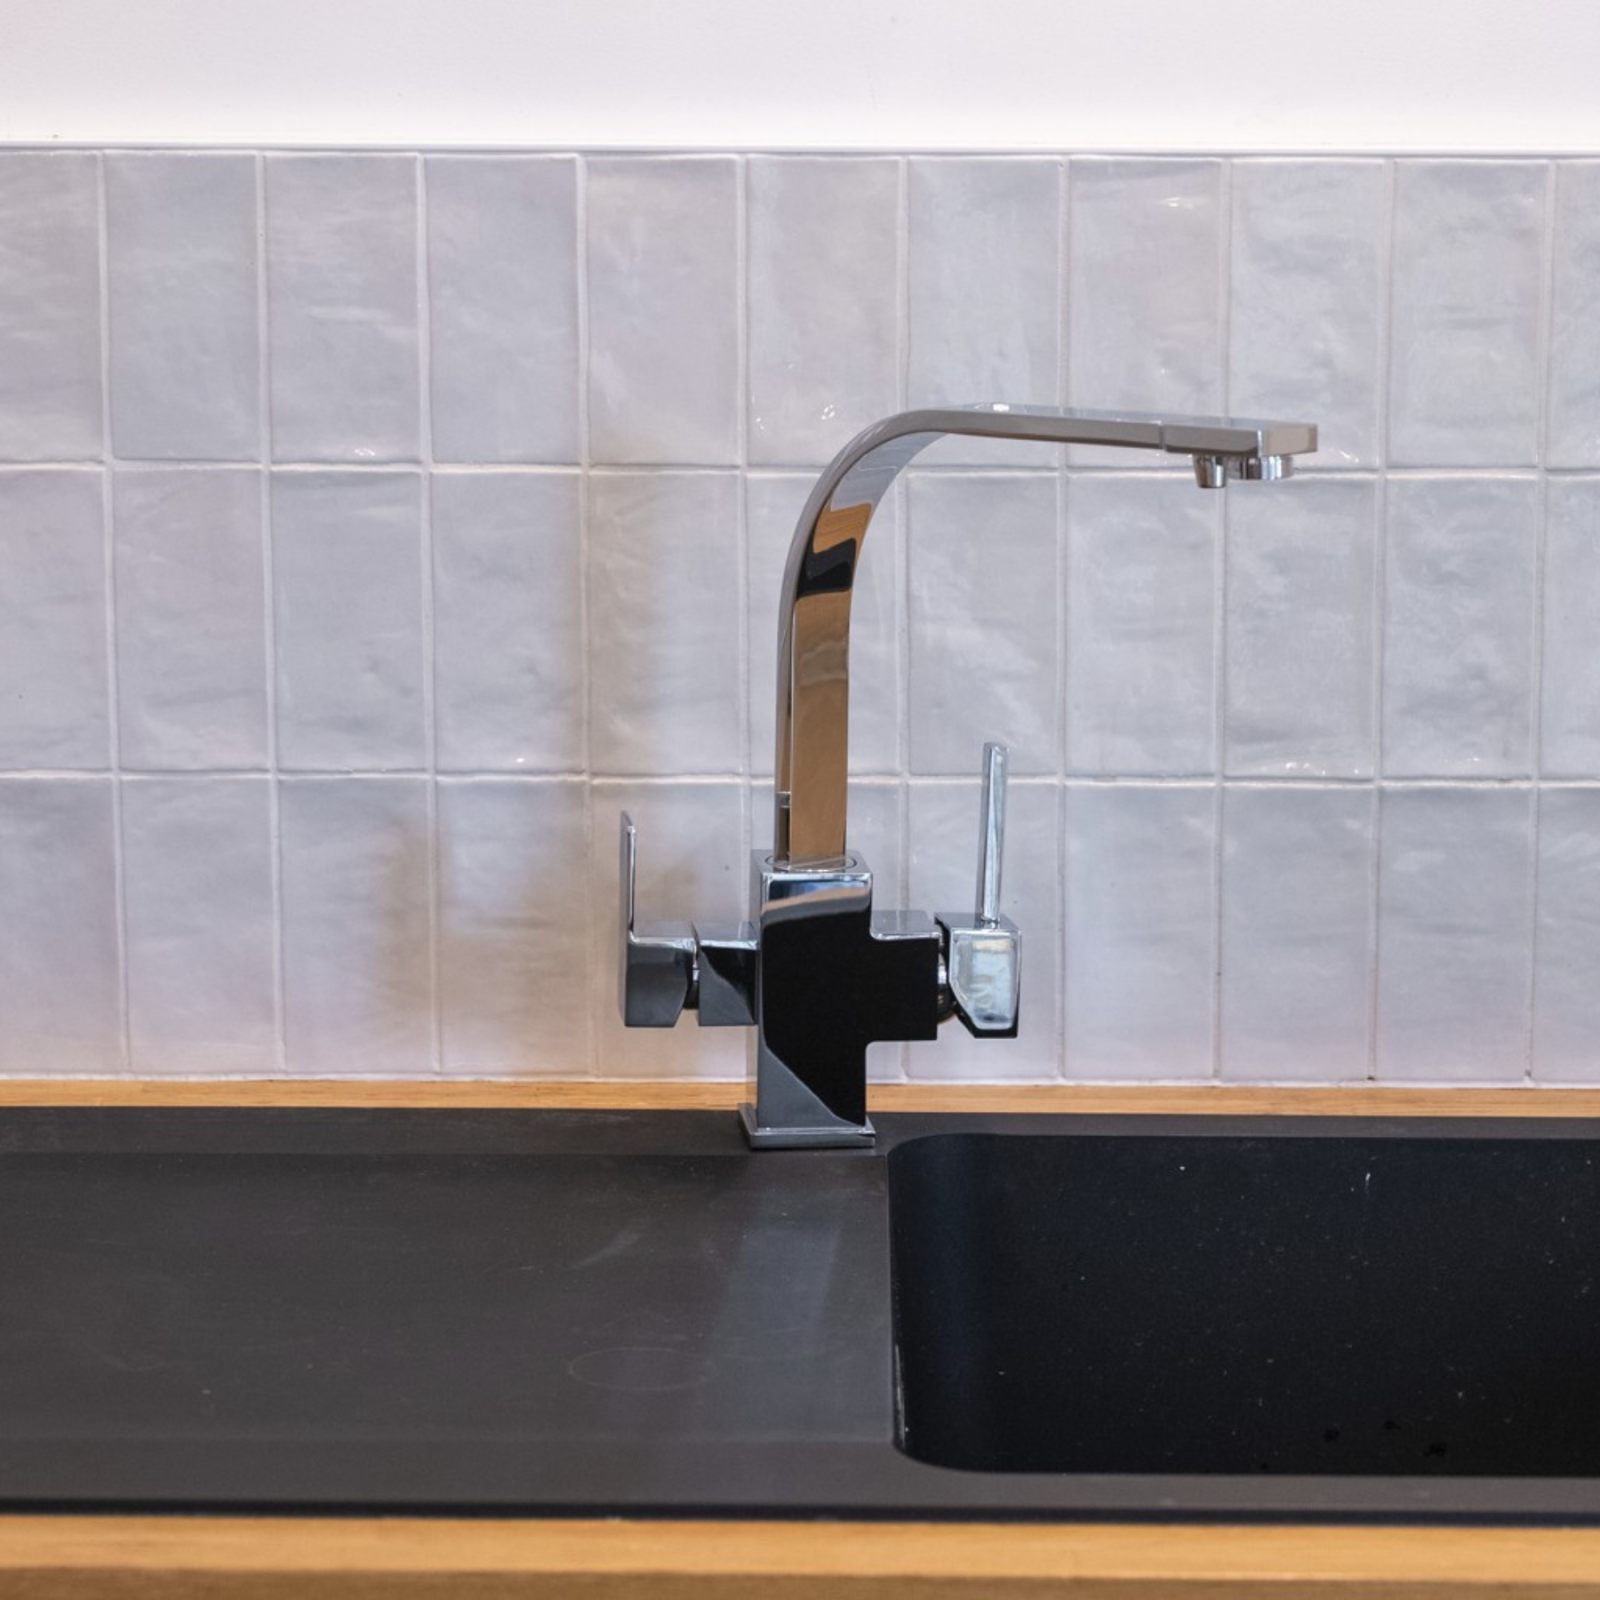
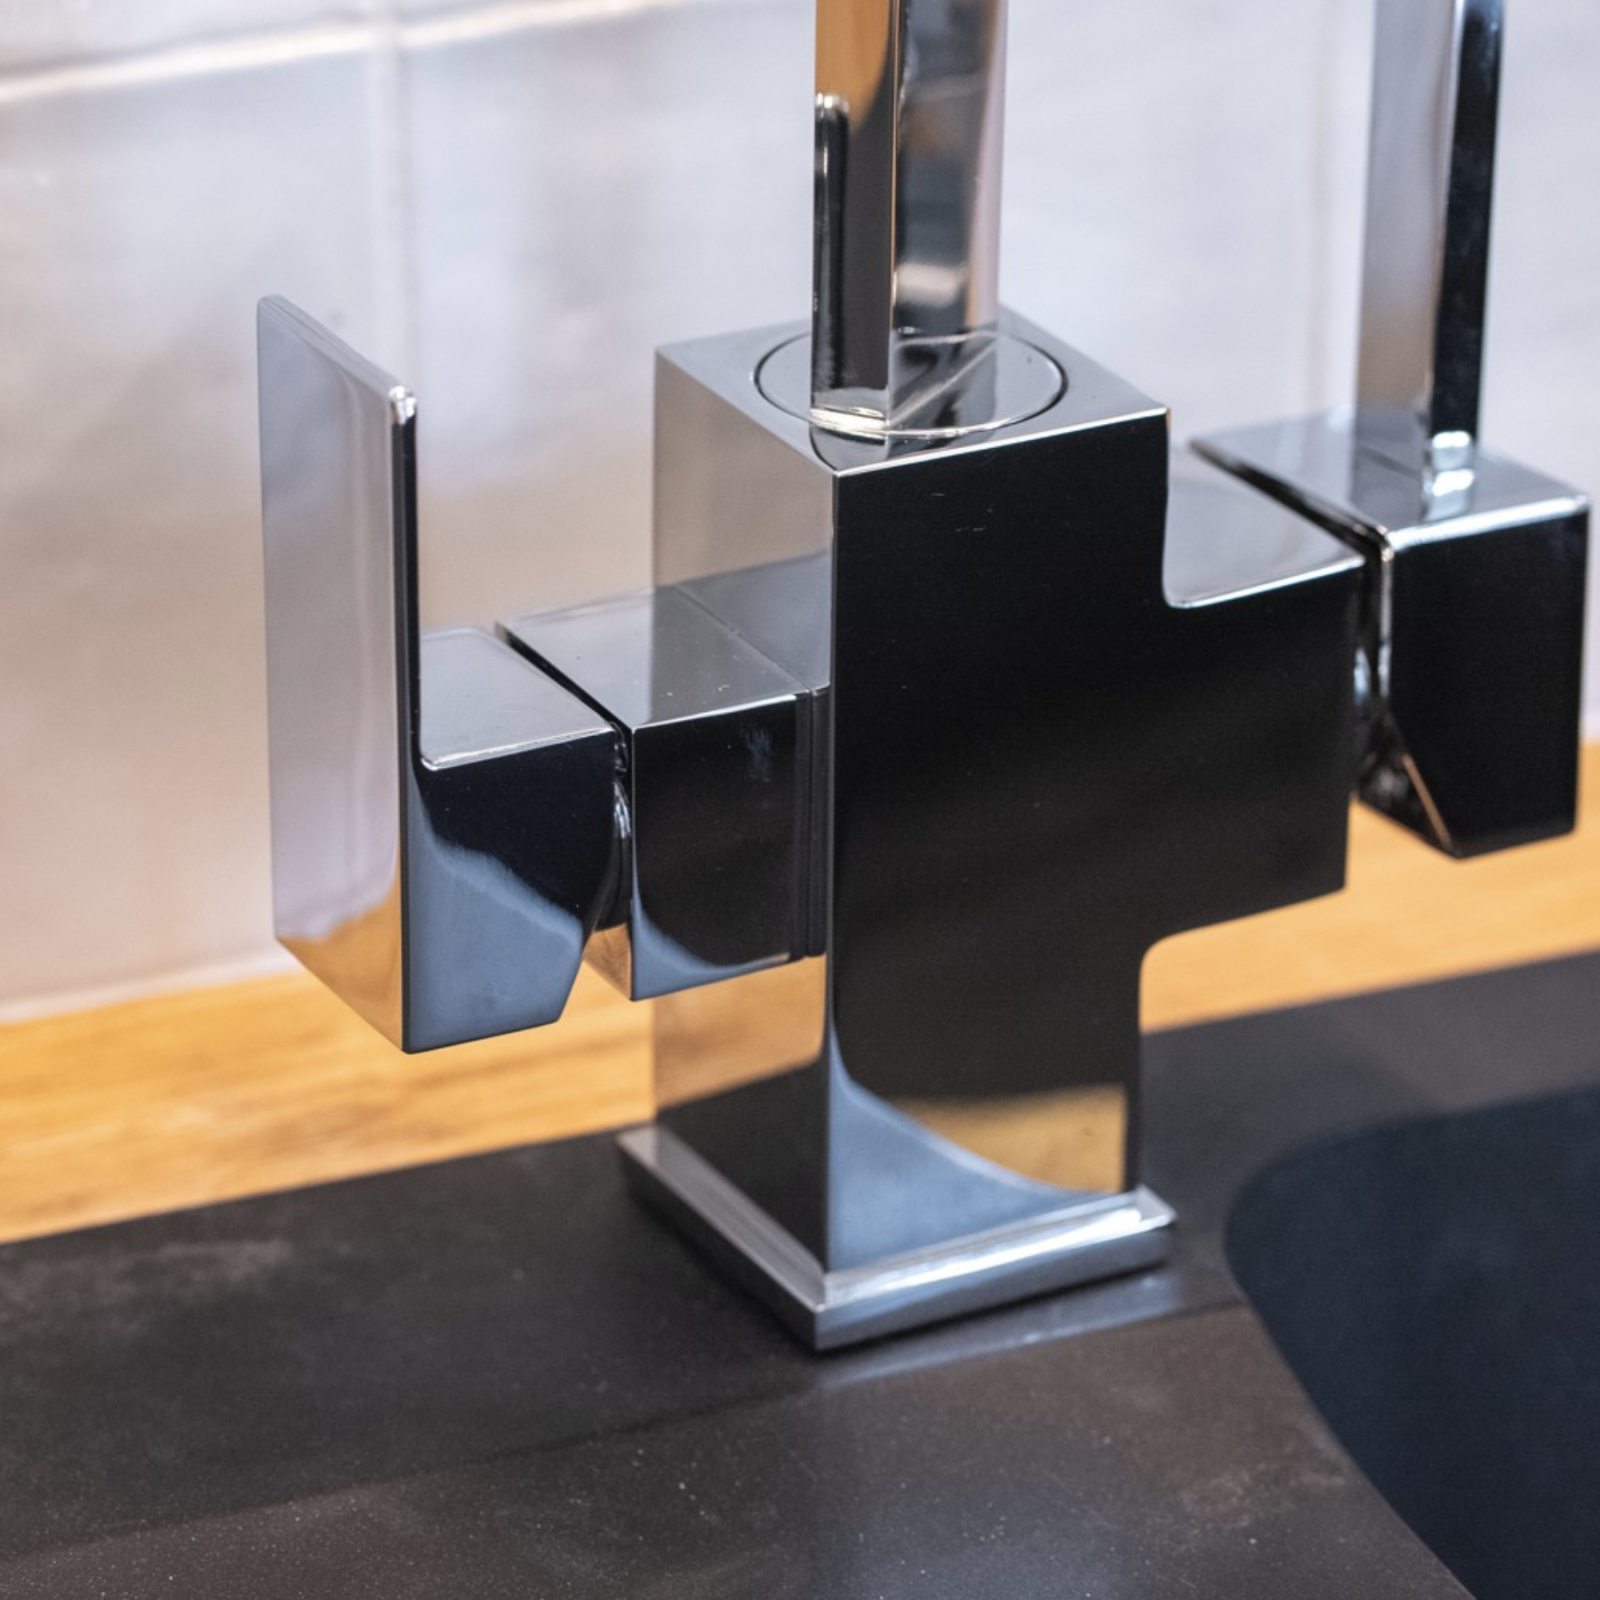
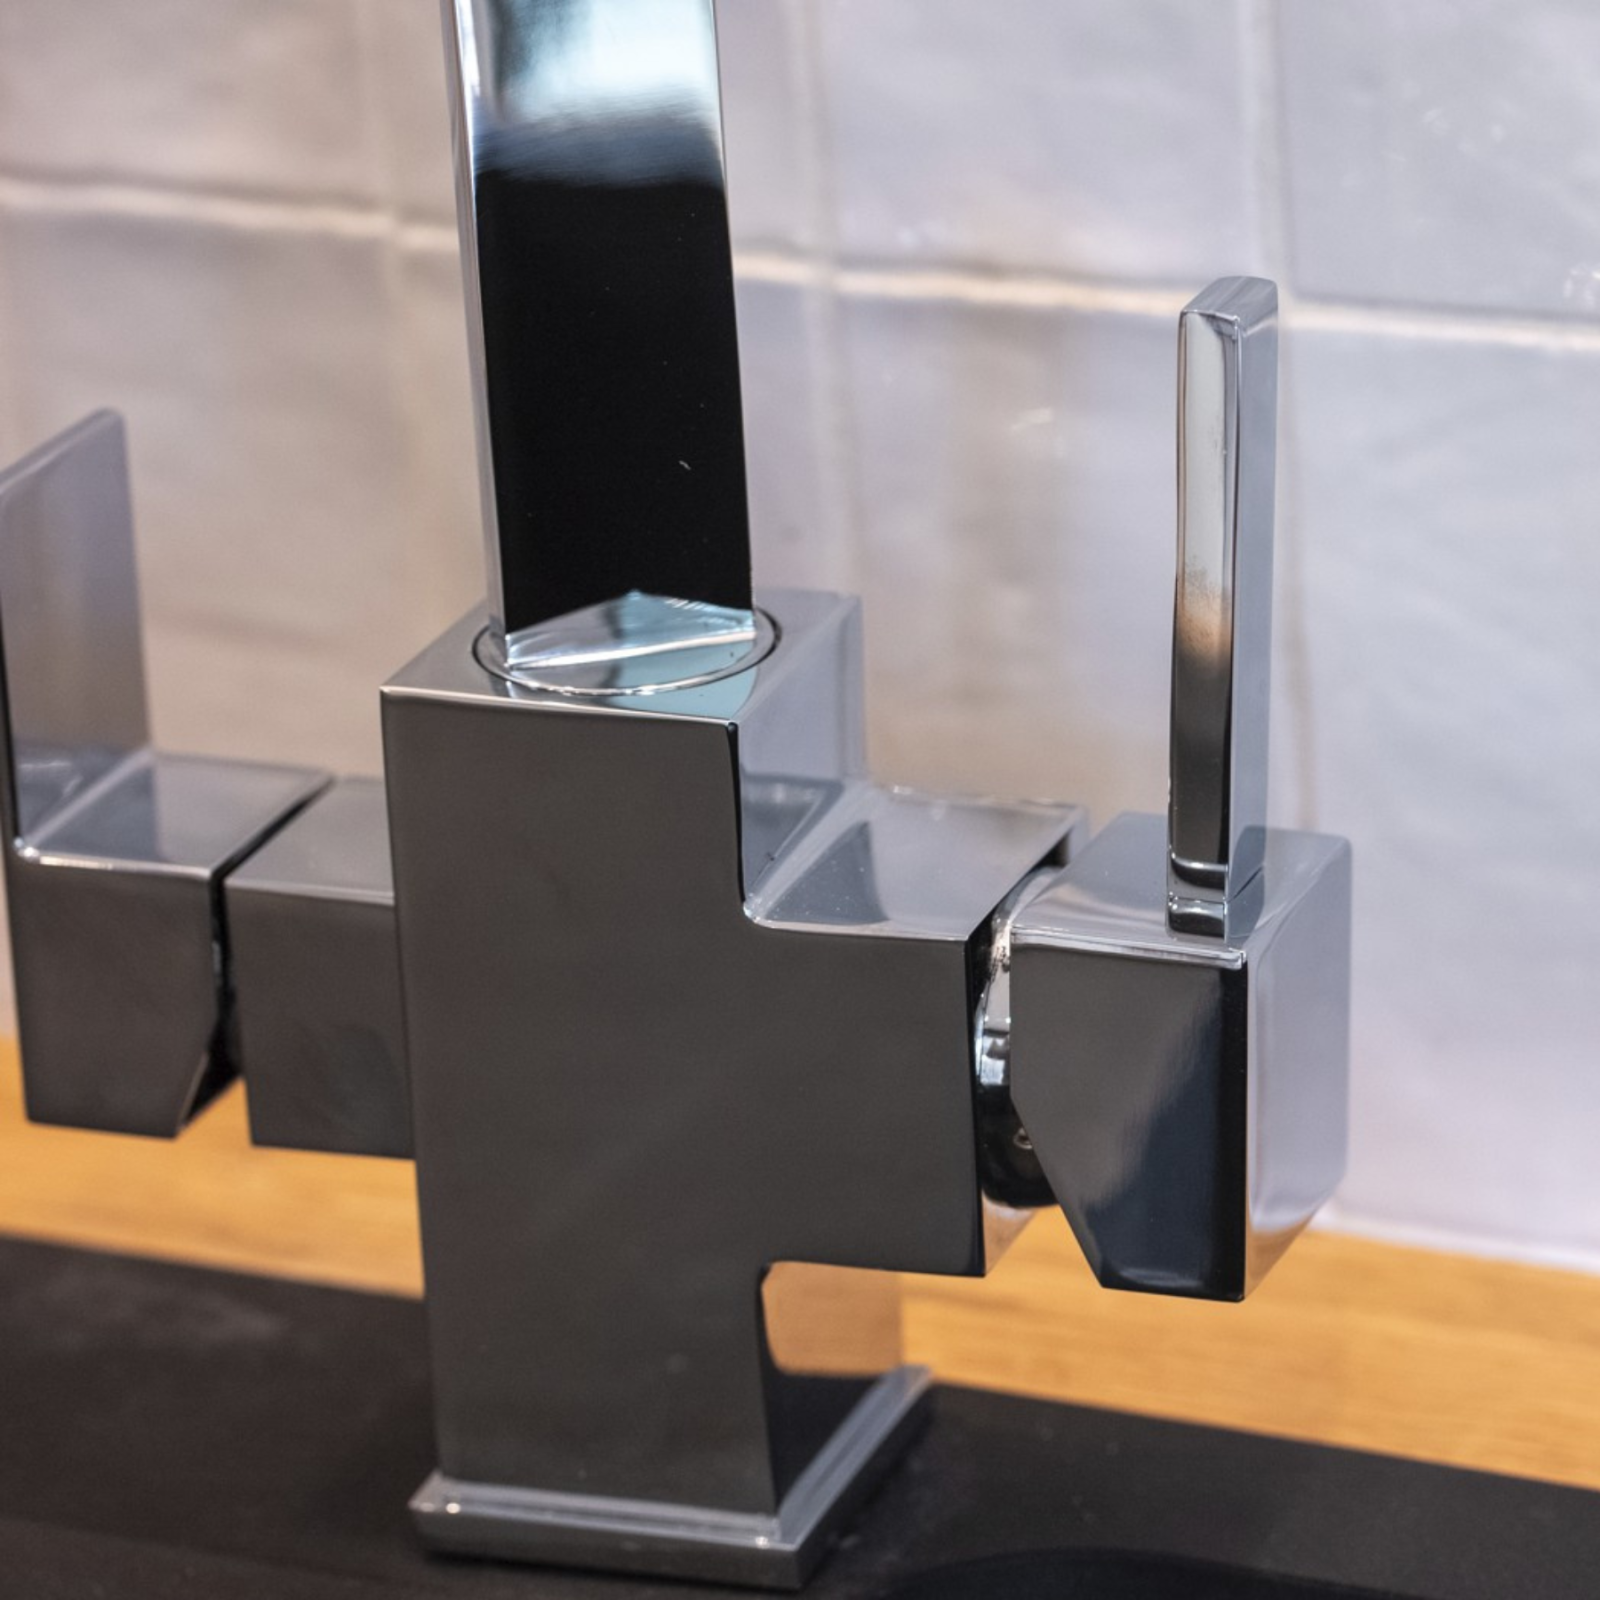
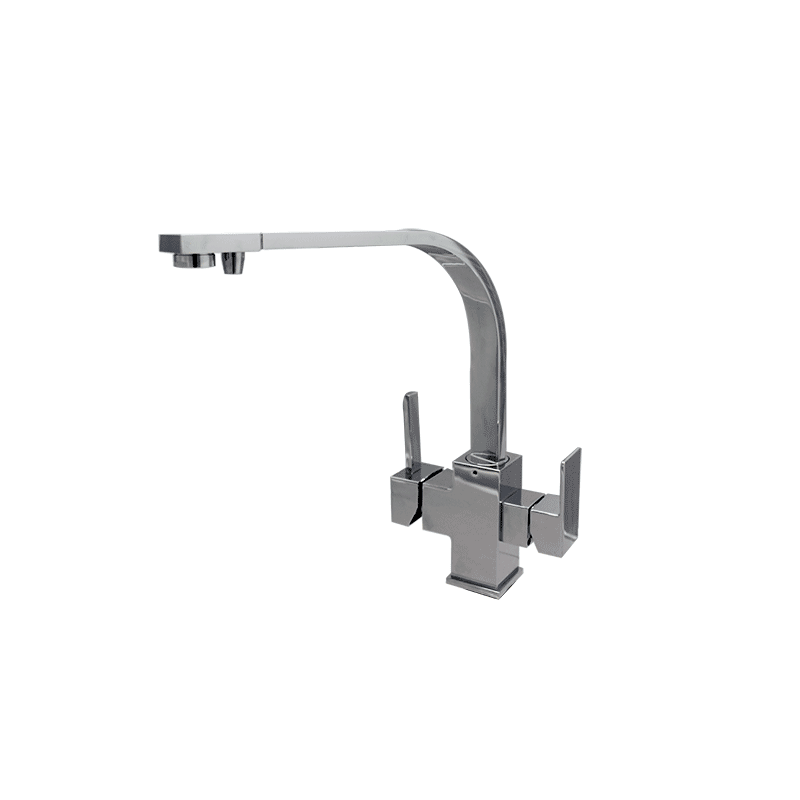
This faucet is made primarily of brass. The joints are stainless steel.
4 ways :
- hot water
- cold water
- RO water
- RO water, hydrogen-enriched water, garden water or mineralized water
|
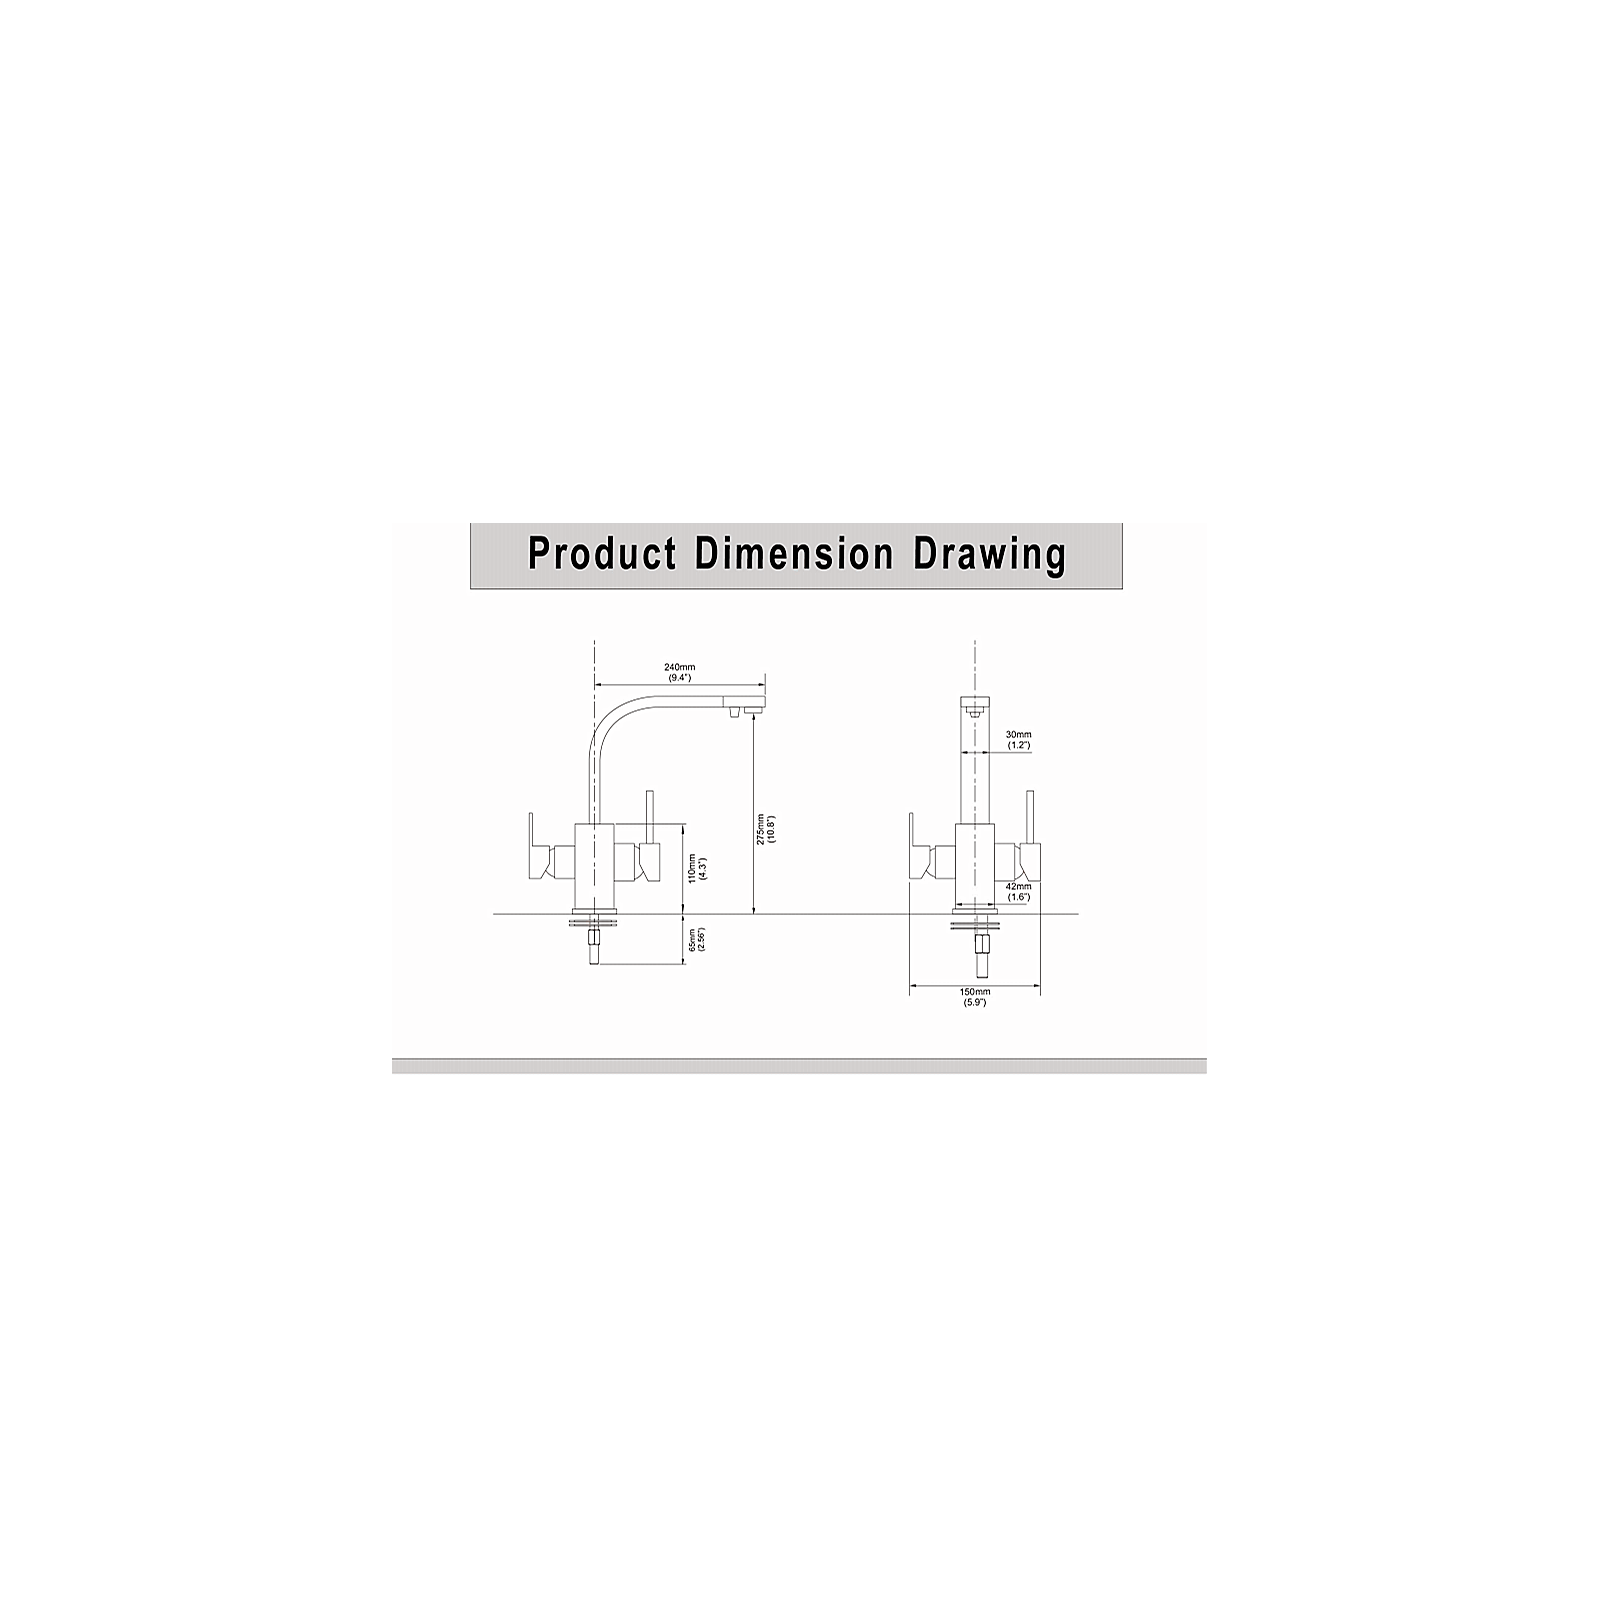
Faucet dimensions |
Measurements in centimeters |
| Total height | 30cm |
| Height under spout | 27.5cm |
|
Base width |
4.2cm |
|
Range of motion |
90 degrees |
|
Connection diameter |
Standard flexible hoses, including one with a 1/4" fitting for the 3rd way |
|
Mounting hole diameter |
3.5cm |
|
Rod length |
6cm |
| Rod thread length | 5cm |
Your RO water faucet comes with the installation essentials
- 3 flexible hoses, including 1 with a 1/4 fitting for the third way
- 1 spray head
- 2 seals
- 1 washer
- 1 bolt
- 1 base with seal
Video Transcript - Installing Your 3-Way Faucet
Here are all the accessories supplied with your 3-way faucet.
Start by taking your faucet and attaching the cold and hot water hoses on one side and the RO water hose on the other.
Then attach the 2 mounting rods, tightening them with a flathead screwdriver and removing the 2 nuts.
Place the support ring over the standard-diameter hole in your sink, then position the faucet, making sure all 3 flexible hoses pass through the hole.
Under the sink, position the rubber and metal retaining pieces, passing the mounting rods through the holes provided.
Screw on the nuts and tighten them securely to hold the faucet firmly in place.
Finally, connect the faucet hoses to the cold water, hot water and RO water lines.
Make sure everything is tightened securely and use Teflon tape on the standard water supply connections.
Your faucet is now ready to use.